Enhance Your Photos with Inexpensive Reflectors
the power of reflected light
Never underestimate the power of reflected light. It can totally change the look and feel of an image, and sometimes, it can make or break the shot. Reflectors are a must in certain situations, and you’d be amazed at the difference just a small piece of white foam core can make. Whether you’re shooting portraits, product or food photography, it can take a photo from blah to wow.
How Do Reflectors Work?
What a reflector does is simply diffuse and reflect some of the light back on the object or subject and, depending on the light, it can either make a shadow disappear altogether, or help fill in the shadows to bring out more detail.
Choosing a Reflector
There are many different kinds of reflectors you can buy, but you really don’t need anything fancy – there are many inexpensive alternatives available. I personally use both homemade and purchased ones and like them all for different reasons.
I often combine two different types, such as foam core and a mirror, or a mirror and foil, because I like to control different areas of the image separately. If you prefer to only use one reflector, and you are shooting by a window, try angling the reflector so that it’s reflecting on both the front and side of the object, otherwise you risk the front being a bit underexposed. But if you’re going for a blown-out background and sides, reflect the side, expose for the front and then lighten the entire image with curves in Photoshop.
Some links on this page are affiliate links, which means I may receive a small commission if you click a link and purchase something. Clicking these links won’t cost you anything, and it helps keep this blog running and free of ads. I only ever recommend products I truly love and use myself.
a few of my favorite reflectors
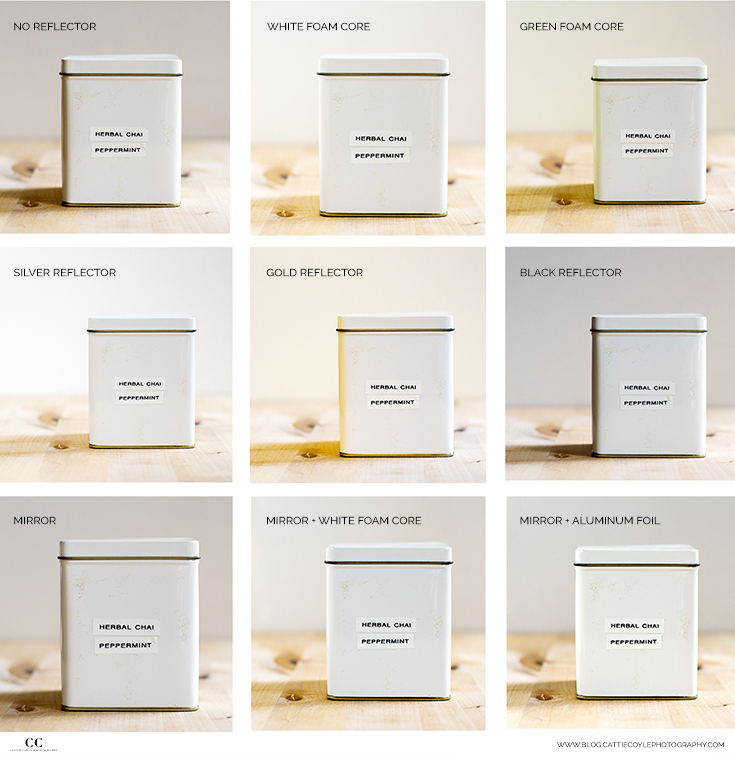
Below is a short rundown of a few of my favorite reflectors (with a comparison chart showing the effects of each at the end of the article):

aluminum foil
Easily accessible (who doesn’t have foil in their kitchen?) and because of its stiffness, ease to work with, and minimal cost, regular aluminum foil makes a perfect reflector.
MIRRORS
A mirror does not diffuse the light; it reflects all of it, which makes a small mirror a great tool for creating a spotlight when you want to highlight a particular part of an image.

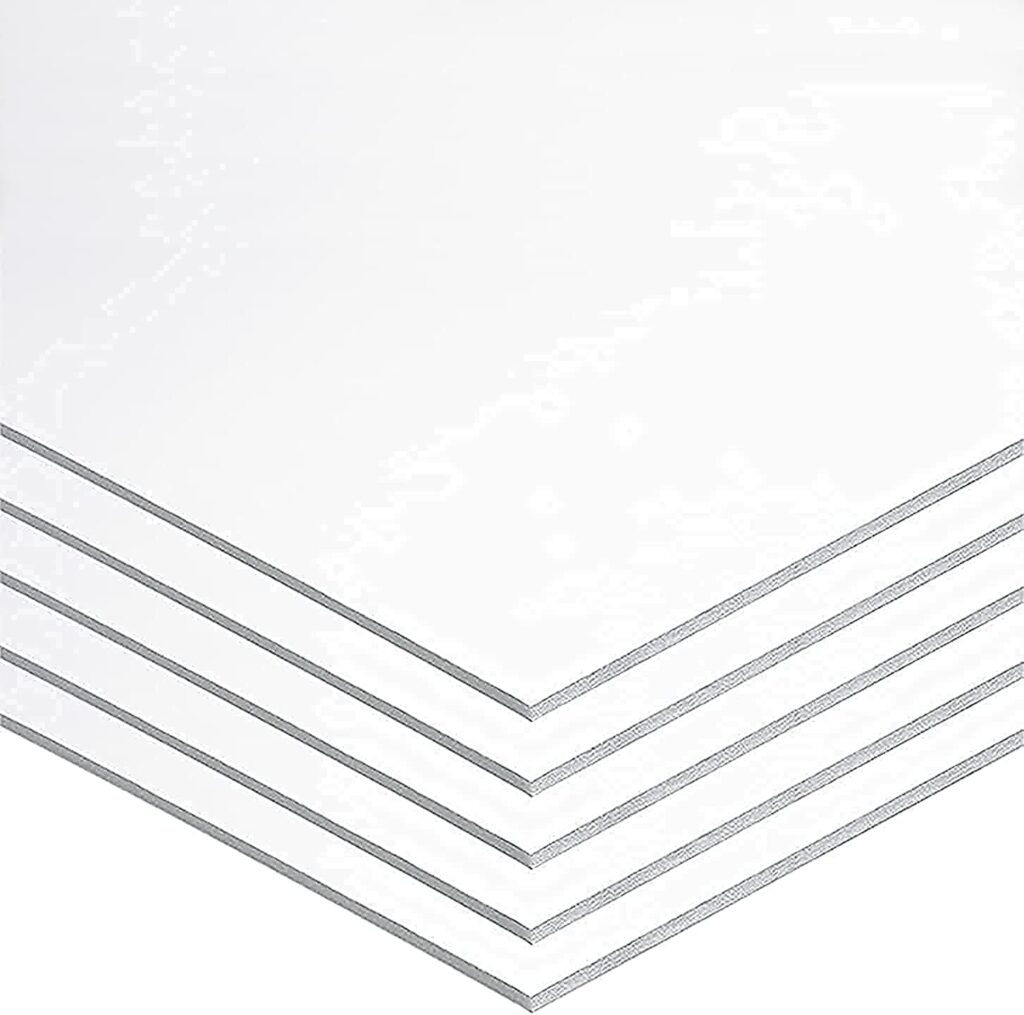
FOAM CORE
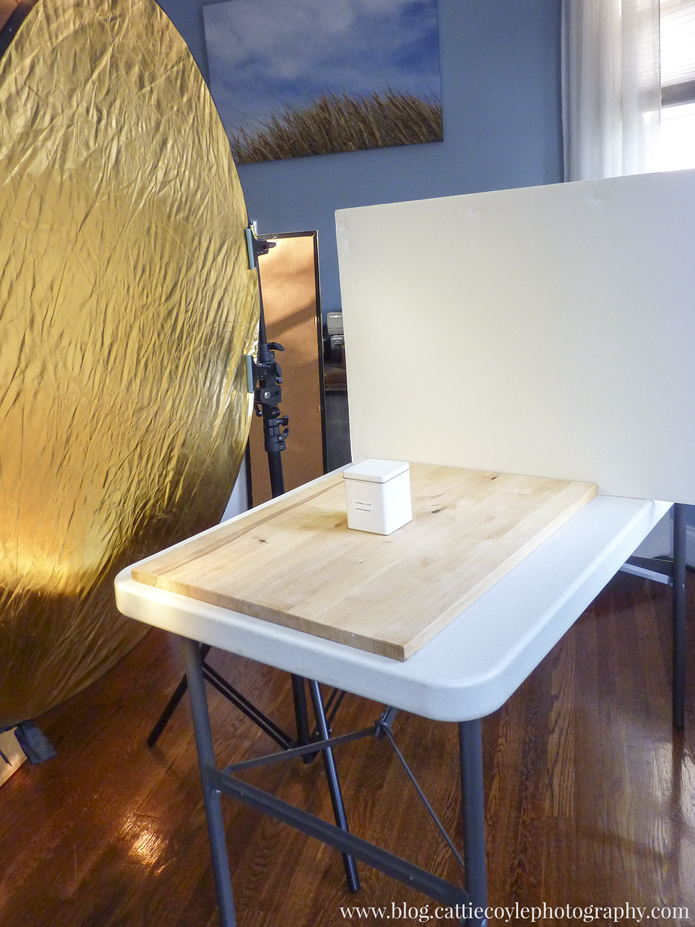
Large sheets of foam core are great both as surfaces, backdrops and reflectors. Use different colors (or white) for surfaces and backdrops, and white as reflectors (you can use colored ones if you want, but your image will have a color cast).
To use as reflectors, lean them against something or make your own little foam core stand. Since they are so lightweight, they don’t need a whole lot of support – I just use a couple of spring clamps to keep mine in place.
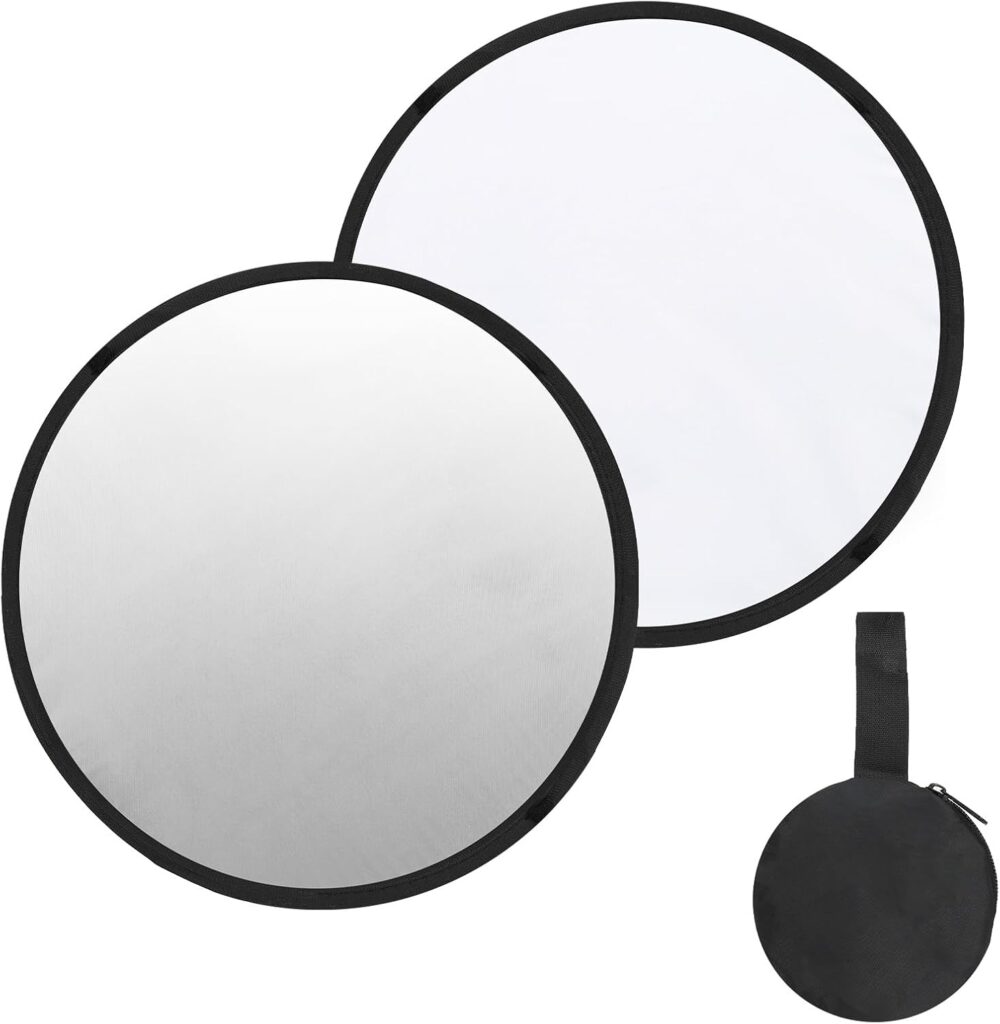
Small Collapsible Reflectors
I have had this small reflector for about 20 years, and still use it all the time. Because of its small size (12”), I carry it with me everywhere and use it both as a reflector and background (when the object I’m shooting is small enough). It has one white and one silver side. They do come in other / more colors, but these are the ones I use the most.
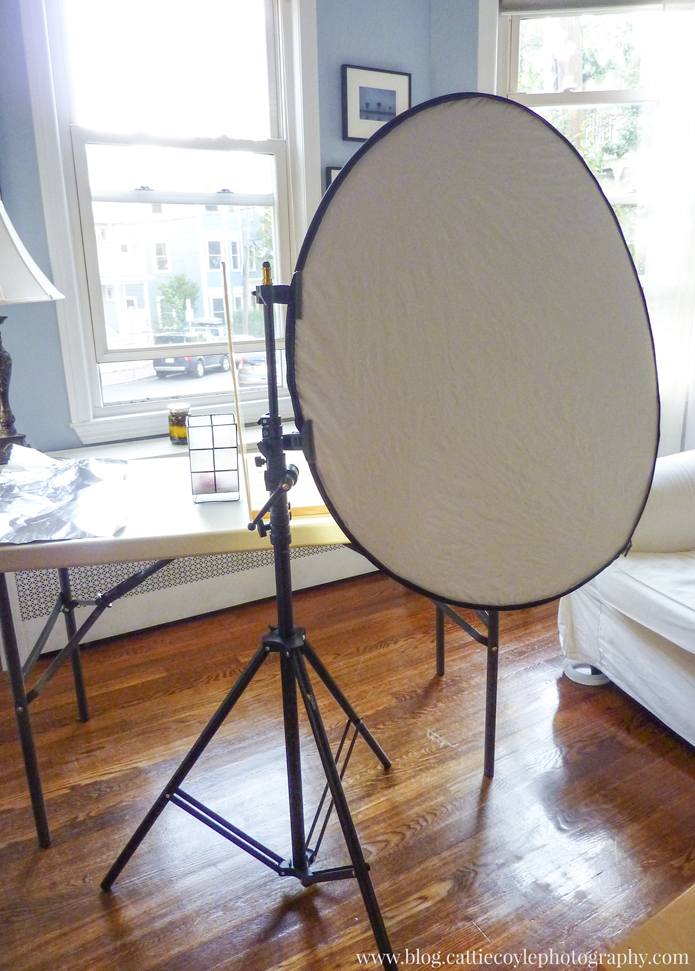
Large Collapsible Reflectors
This large collapsible reflector / diffuser is basically the same thing as the small one, but larger and with more colors. It comes with 5 different surfaces: white, black, gold, silver and translucent (to be used as a diffuser, works great as a backdrop as well).
It’s a bit too big and unwieldy to use with spring clamps and doesn’t always want to stay in place on its own, so I use it with a light stand (or ask someone to hold it). Great for when you need a lot of fill light, or as a backdrop. And since it folds up, it easy to bring along for shoots on location (although I wouldn’t bring it on a hike; for that I use the smaller version).
You get different effects from the various surfaces:
sheet / Table cloth
If you need to fill in a larger area (like a full body portrait), and don’t want to invest in a large professional reflector, you can hang a white sheet or tablecloth from a stand or the ceiling. When I use this method, I use a simple clothing rack I got at a department store and clip a sheet to it with spring clamps. This method also works really well if you want to use the sheet as a backdrop. Just make sure to iron it first, unless you want a textured background.

There is so much you can do with light. Play around with all these options and variations and experiment until you find what works for your particular style. There is no better way to learn, and once you have it down, you won’t have to guess but can envision, and will know exactly what you need, to get the final result even before you set up the shoot.
photography reflectors comparison chart
MORE FROM THE BLOG
THE LATEST POSTS
-
Sustainable Swim and Resort Wear by Bambina Swim
Sustainable Swim and Resort Wear by Bambina Swim Bambina Swim: Sustainable Swim and Resort Wear As a small business owner…
-
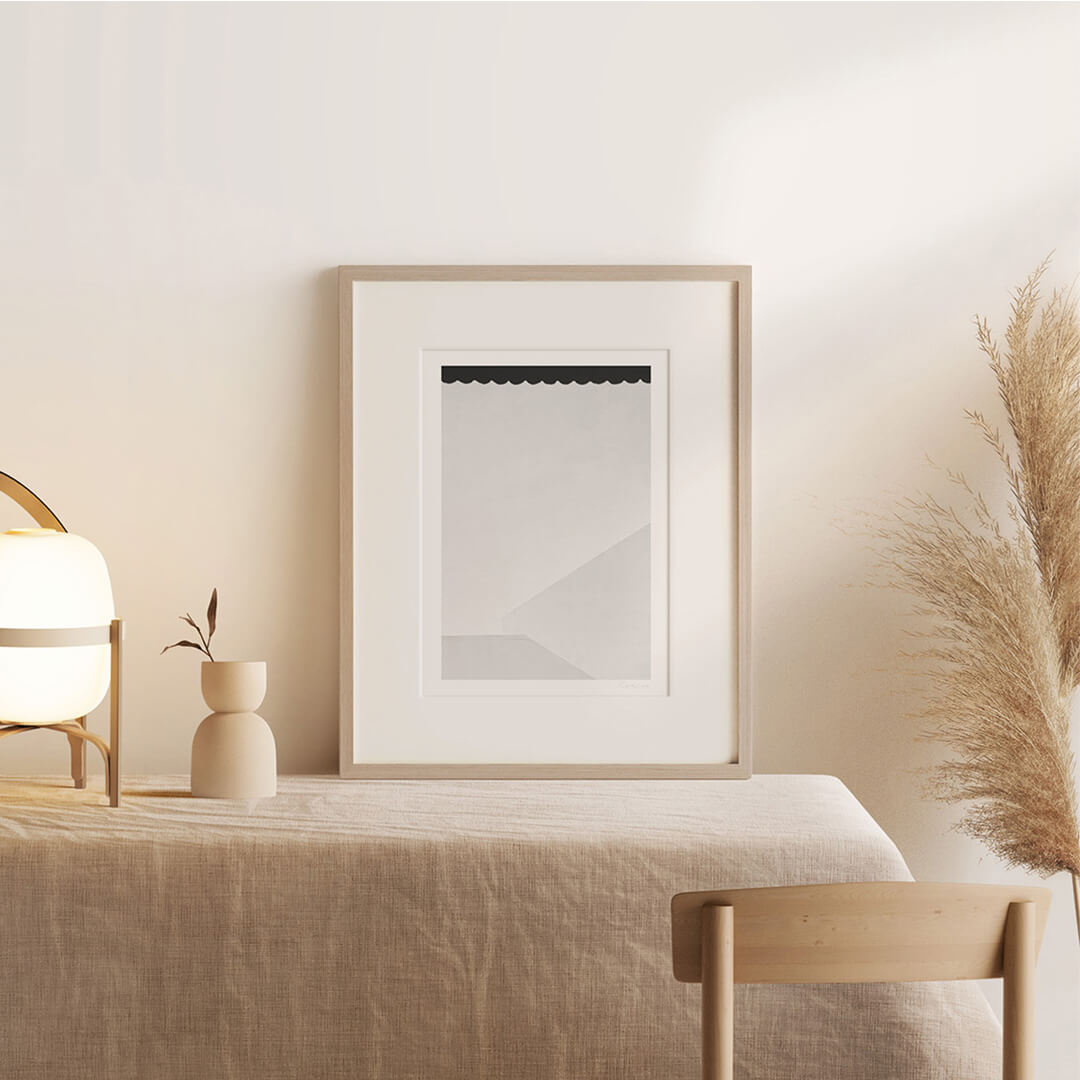
Minimalist Abstract Art Print “Shadow” gets Honorable Mention
Minimalist Abstract Art Print “Shadow” gets Honorable Mention Minimalist Abstract Art Print “Shadow” I hardly ever enter photo contests, I…
-
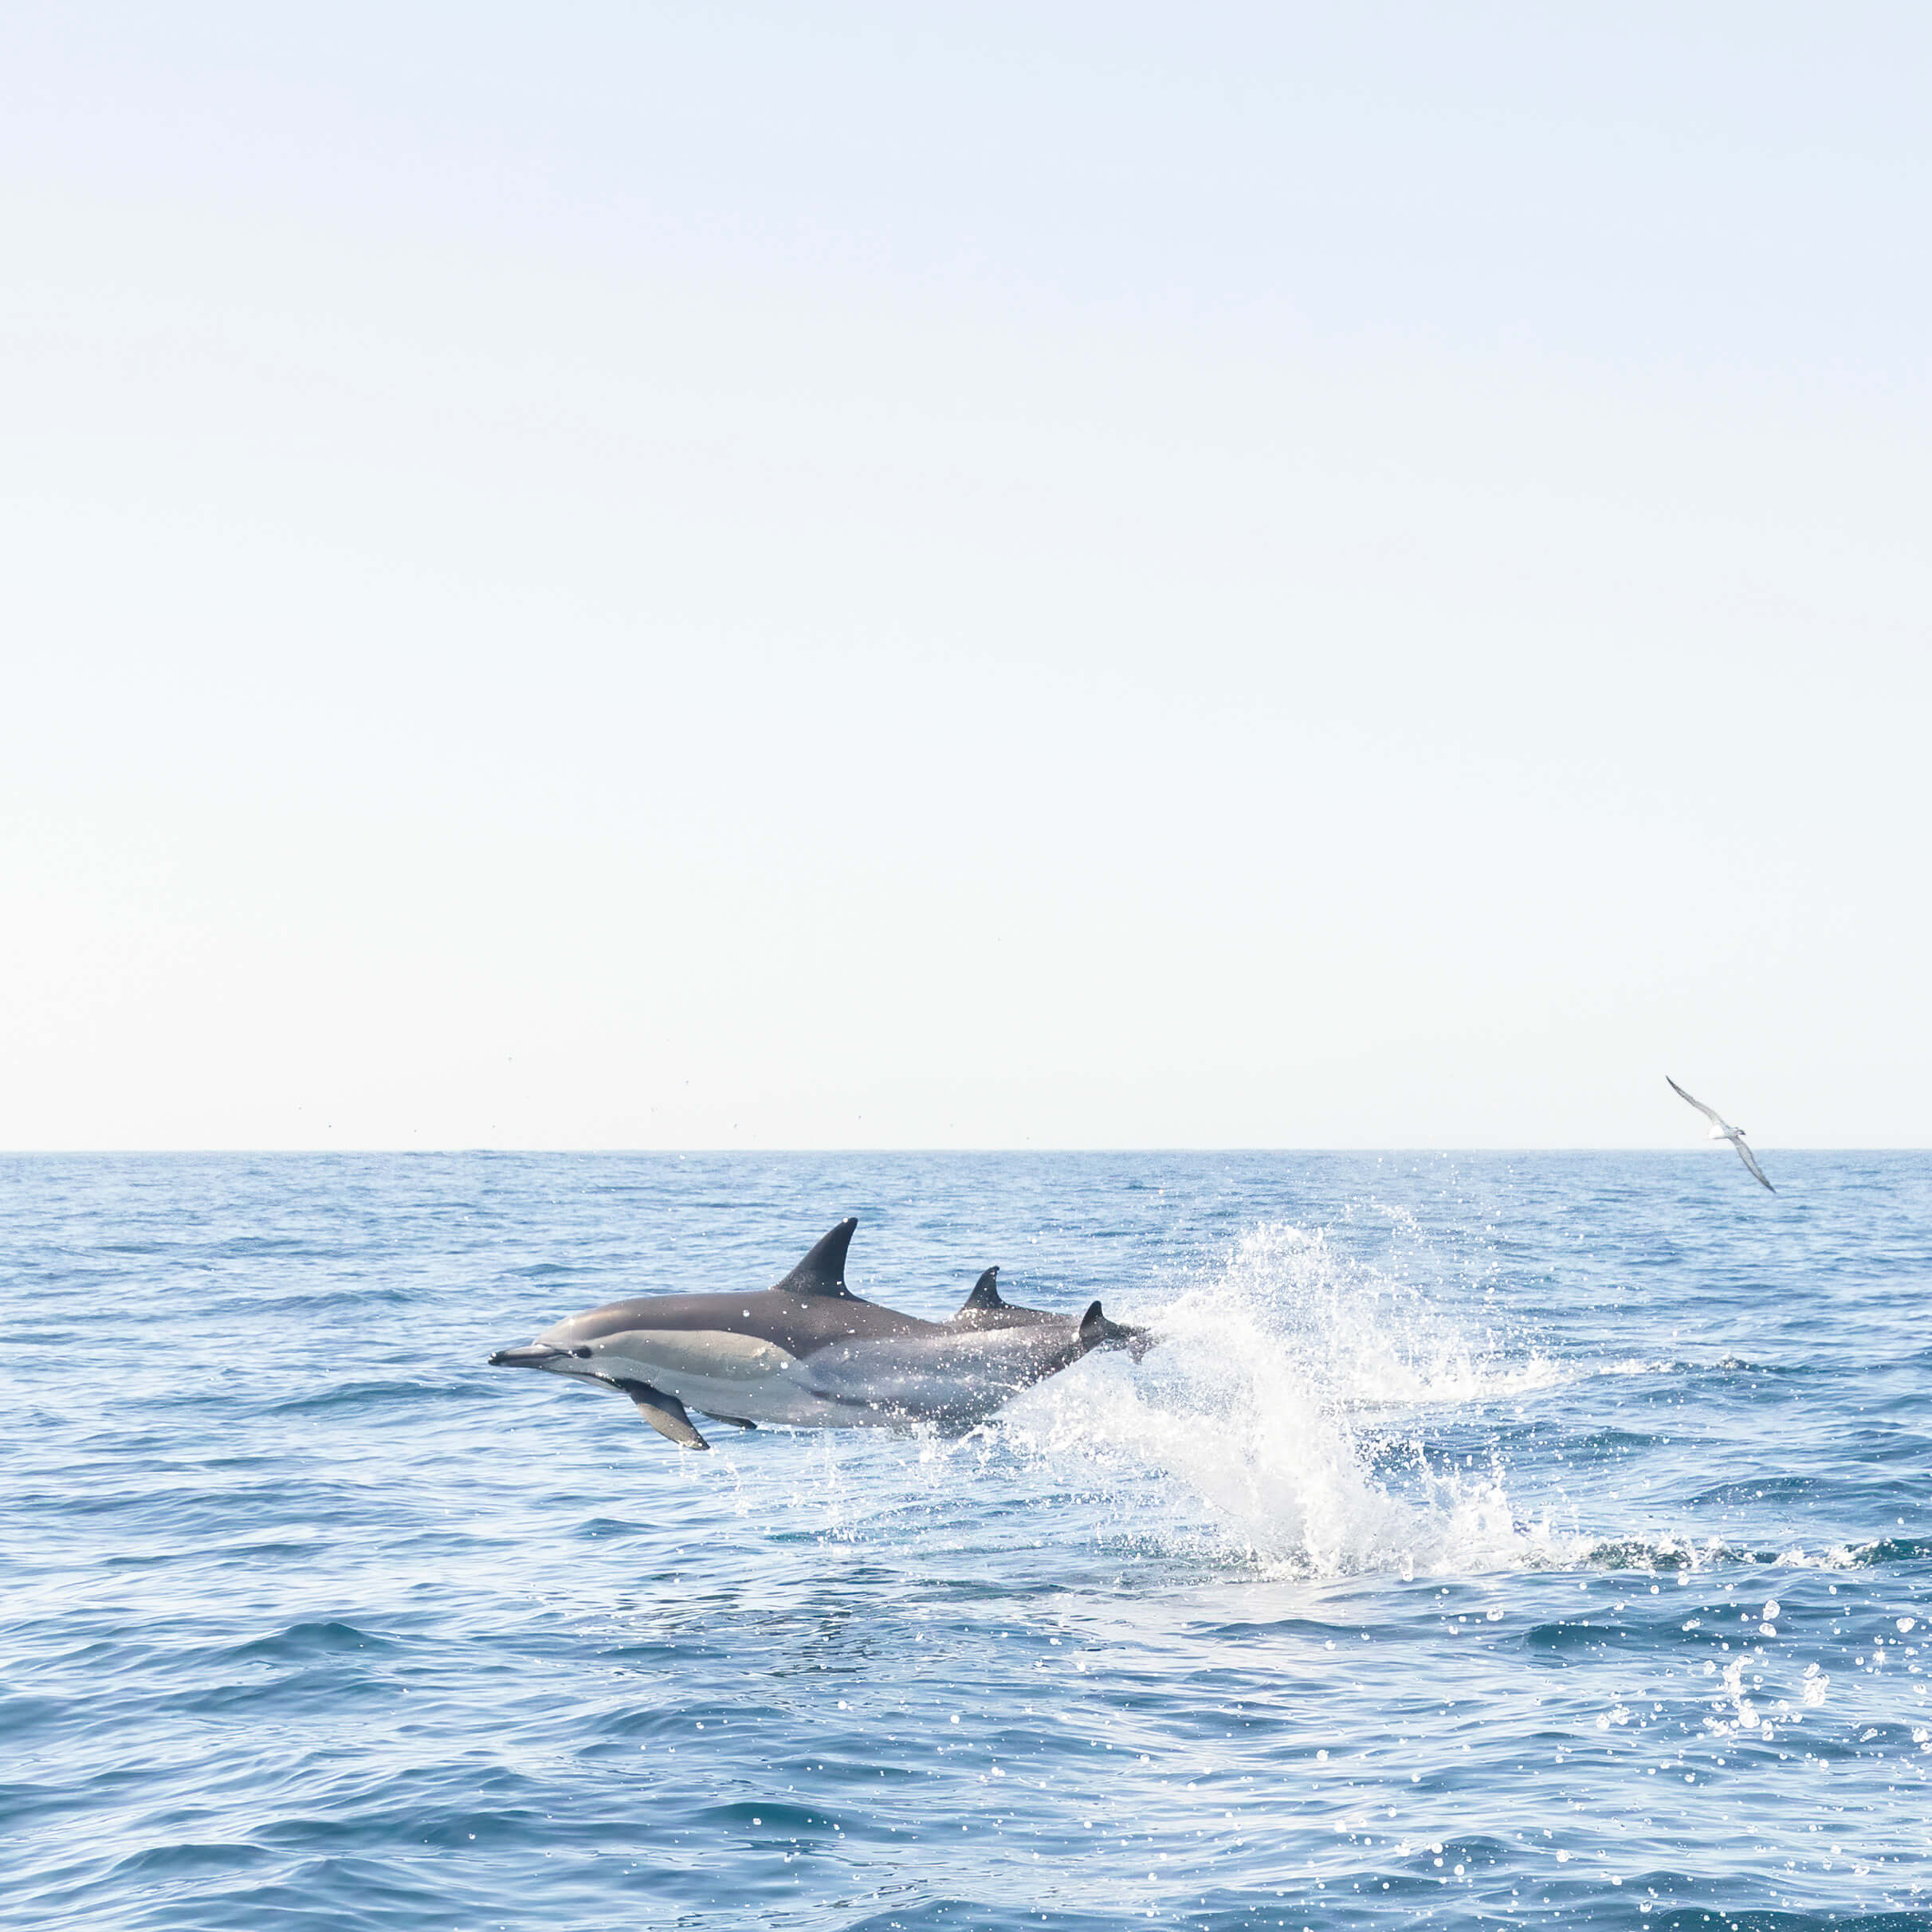
Happy World Dolphin Day!
Happy World Dolphin Day! Happy World Dolphin Day! World Dolphin Day takes place on September 12 every year to celebrate…